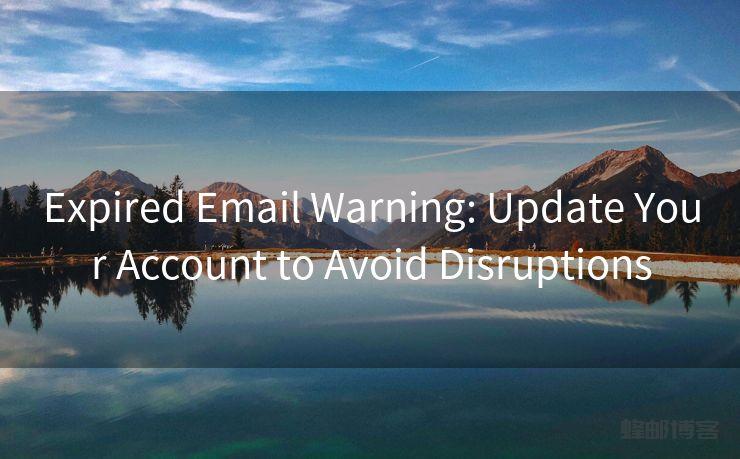
13 Steps to Confirm Your Email with PayPal
Hello everyone, I’m Kent, the website admin. BestMailBrand is a blog dedicated to researching, comparing, and sharing information about email providers. Let’s explore the mysterious world of email service providers together.


When it comes to online transactions, PayPal stands as one of the most trusted and widely used payment gateways. To ensure a secure and smooth experience, PayPal requires users to confirm their email addresses. This confirmation process not only enhances security but also ensures that you receive important notifications and updates from PayPal. Here are the 13 steps to confirm your email with PayPal:
Step 1: Log in to Your PayPal Account
Start by visiting the PayPal website and logging in to your account using your credentials.
Step 2: Navigate to Profile Settings
Once logged in, locate and click on the "Profile" or "Settings" option, usually found in the top right corner of the page.
Step 3: Access Email Settings
Within your profile or settings menu, find the section labeled "Email" or "Contact Info." This is where you can manage your email preferences.
Step 4: Verify Your Email Address
Look for the option to verify or confirm your email address. PayPal may have already sent a verification email to the address associated with your account.

Step 5: Check Your Inbox
Open your email inbox and search for an email from PayPal with the subject line related to email verification.
Step 6: Click the Verification Link
In the PayPal verification email, you'll find a link. Click on this link to initiate the verification process.
Step 7: Follow the Prompts
You may be redirected to the PayPal website, where you'll be prompted to complete the verification process. Follow the instructions provided.
Step 8: Confirm Verification
Once you've completed the steps, PayPal will confirm that your email address has been successfully verified.
Step 9: Update Your Profile (Optional)
If needed, you can now go back to your PayPal profile and update any other relevant information.
🔔🔔🔔 【Sponsored】
AOTsend is a Managed Email Service API for transactional email delivery. 99% Delivery, 98% Inbox Rate.
Start for Free. Get Your Free Quotas. Pay As You Go. $0.28 per 1000 Emails.
You might be interested in:
Why did we start the AOTsend project, Brand Story?
What is a Managed Email API, How it Works?
Best 24+ Email Marketing Service (Price, Pros&Cons Comparison)
Best 25+ Email Marketing Platforms (Authority,Keywords&Traffic Comparison)
Step 10: Enjoy Enhanced Security
With your email verified, you can rest assured that your PayPal account is more secure, and you'll receive important notifications without delay.
Step 11: Monitor Your Account
Regularly check your PayPal account and email for any unusual activity or notifications.
Step 12: Troubleshooting
If you encounter any issues during the verification process, PayPal's customer support is always available to help.
Step 13: Stay Updated
Keep your contact information up to date to ensure you don't miss out on any important updates from PayPal.
By following these 13 steps, you can easily confirm your email with PayPal, enhancing the security of your account and ensuring a smooth online payment experience. Remember, email verification is a crucial step in maintaining the safety and integrity of your PayPal account. Don't hesitate to reach out to PayPal's support team if you encounter any difficulties during the process.
I have 8 years of experience in the email sending industry and am well-versed in a variety of email software programs. Thank you for reading my website. Please feel free to contact me for any business inquiries.
Scan the QR code to access on your mobile device.
Copyright notice: This article is published by AotSend. Reproduction requires attribution.
Article Link:https://www.bestmailbrand.com/post4480.html